Epoxy resin is a versatile material that allows artists, hobbyists, and designers to create stunning, glossy, and durable pieces. From coasters and jewelry to decorative panels and tabletops, resin offers endless possibilities for creativity. However, working with resin requires an understanding of the right tools, techniques, and safety measures to achieve high-quality results while minimizing risks.
Essential Tools for Resin Art
Working with epoxy resin begins with having the right tools. Proper preparation and equipment make the process smoother and the final product more professional.
Mixing Cups and Stir Sticks – Accurate mixing is crucial for proper curing. Measuring cups ensure correct ratios of resin and hardener, while stir sticks allow thorough blending without introducing air bubbles.
Protective Gear – Gloves, safety goggles, and a respirator mask are essential. Epoxy resin contains chemicals that can irritate skin and lungs, so protection is a must for safe handling.
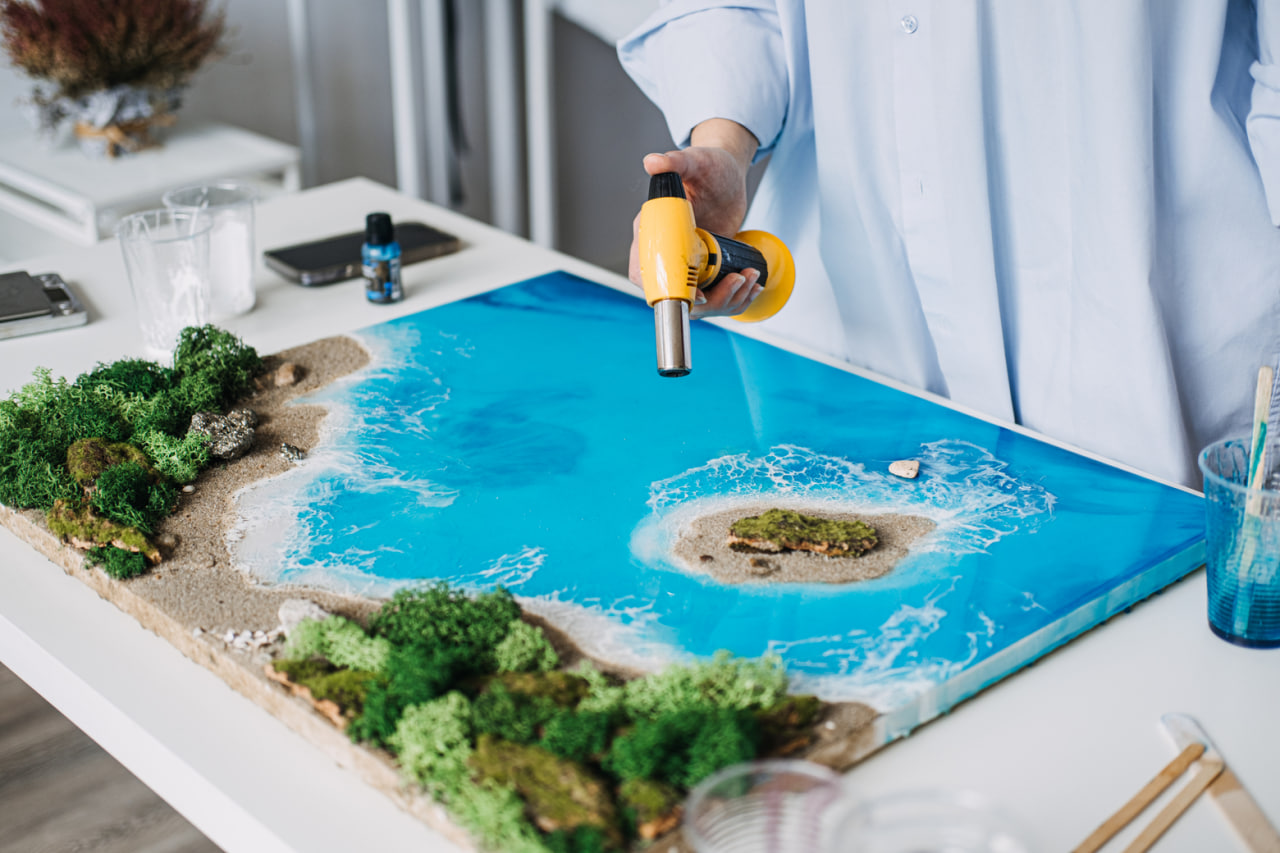
Heat Gun or Torch – A heat gun or small torch helps remove bubbles from resin surfaces, ensuring a smooth, glass-like finish.
Molds and Surfaces – Silicone molds are ideal for beginners because they are flexible and release cured resin easily. Work surfaces should be level, clean, and covered with protective materials to prevent damage.
Spatulas and Brushes – Useful for spreading resin evenly, adding textures, or manipulating layers for creative effects.
Basic Techniques for Beginners
Understanding the core techniques of working with resin is essential for producing high-quality projects.
Measuring and Mixing
Epoxy resin comes in two components: resin and hardener. Precise measurement according to the manufacturer’s instructions ensures proper chemical reaction and complete curing. Mix slowly and thoroughly to prevent streaks or unmixed areas. Avoid vigorous stirring to reduce the introduction of air bubbles.
Pouring and Layering
Pouring resin can be done in a single layer for simple pieces, or in multiple layers for depth and embedded objects. Layering allows you to create stunning visual effects, including floating elements, color gradients, and three-dimensional designs. Each layer should cure partially or fully before adding the next to avoid mixing or warping.
Coloring and Pigments
Adding pigments, dyes, or metallic powders to resin creates vibrant and customized finishes. Start with small amounts to control color intensity. You can experiment with multiple colors, swirling techniques, and gradients to achieve unique patterns.
Embedding Objects
Resin’s transparency allows for the inclusion of various objects such as flowers, beads, coins, or glitter. Ensure objects are clean and dry before embedding to prevent reactions or cloudiness. Position them carefully within the resin layers for optimal visual effect.
Bubble Management
Air bubbles are a common challenge in resin work. They can be minimized by stirring slowly, using a heat gun or torch to pop surface bubbles, and letting the mixture settle before pouring. Proper mold preparation and warming the resin slightly can also reduce bubble formation.
Safety Tips for Resin Art
Safety should be a top priority when working with epoxy resin.
Ventilation – Work in a well-ventilated area to avoid inhaling fumes. A fan or open windows can help maintain airflow.
Personal Protective Equipment – Gloves protect against skin irritation, goggles shield eyes from splashes, and a respirator mask prevents inhalation of harmful vapors.
Surface Protection – Cover tables and work surfaces with disposable sheets or silicone mats to prevent spills from damaging furniture.
Proper Storage – Keep resin and hardener out of reach of children and pets. Store in a cool, dry place to maintain quality.
Waste Disposal – Dispose of leftover resin and used tools according to local regulations. Avoid pouring uncured resin down drains.
Troubleshooting Common Issues
Beginners often encounter issues like sticky surfaces, cloudiness, or uneven curing. These can usually be resolved by checking mixing ratios, ensuring proper curing time, and maintaining clean molds. Temperature and humidity also affect curing, so work in a stable environment to achieve the best results.
Practice and Experimentation
The key to mastering resin art is practice. Start with small projects to understand the material’s behavior and gradually move to more complex designs. Experiment with colors, layering, and embedded objects to develop your unique style. Documenting techniques and results helps refine methods and improve outcomes.
Epoxy resin offers endless opportunities for creative expression. By learning the essential tools, techniques, and safety practices, beginners can confidently start producing beautiful, durable, and professional-looking resin art pieces.

