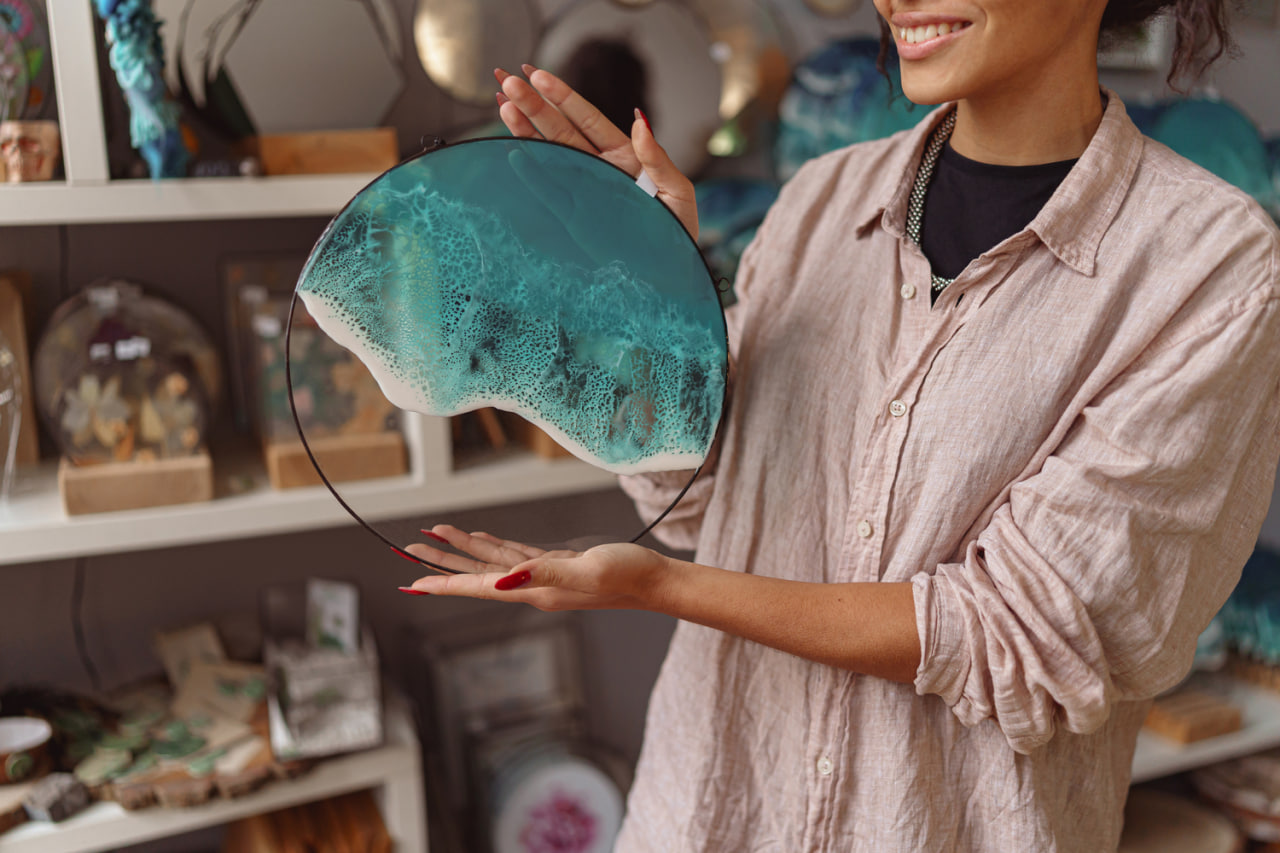
Layering is one of the most powerful techniques in resin art, allowing creators to build depth, dimension, and intricate visual effects. Unlike a single poured layer, multi-layered resin projects offer the opportunity to embed objects, create floating elements, and achieve three-dimensional effects that transform a flat surface into a captivating work of art.
Understanding the Basics of Resin Layering
Layering involves pouring multiple thin layers of resin sequentially rather than a single thick pour. Each layer can include different colors, embedded objects, or textures to create a sense of depth. This technique allows artists to manipulate visual space, making pieces appear more dynamic and complex.
Proper curing between layers is essential. Pouring too quickly can mix layers unintentionally, resulting in cloudiness or color blending that may not be desired. Understanding the curing time of your specific resin is key to achieving distinct, visually striking layers.
Tools and Materials for Layering
Successful layering begins with having the right tools and materials.
Silicone Molds or Level Surfaces – Molds must be flexible and clean, while flat surfaces should be perfectly level to prevent uneven layers.
Measuring and Mixing Equipment – Accurate measurement of resin and hardener ensures each layer cures correctly. Stir slowly to avoid introducing air bubbles.
Colorants and Pigments – Alcohol inks, mica powders, and resin dyes allow for precise control over color and translucency.
Heat Source – A small heat gun or torch helps remove bubbles from each layer and can slightly manipulate the resin for swirls and blending effects.
Embedded Objects – Flowers, beads, glitter, coins, or small decorative elements can be positioned within layers for added dimension.
Techniques for Layering
Transparent Layers
Transparent layers are essential for creating the illusion of depth. By pouring clear resin between colored layers or embedded objects, you can give the appearance of floating elements or three-dimensional scenes. Transparency also allows light to pass through, enhancing the overall visual impact.
Color Gradients
Layering allows for smooth color transitions and gradients. Pouring colors in sequence, blending edges lightly with a stir stick or brush, produces subtle ombre effects. Alternating opaque and translucent layers can add even more visual interest.
Embedding Objects
Objects embedded between layers appear suspended, creating depth and intrigue. Ensure that each layer is partially cured before adding items, so they stay in place without sinking or shifting. Smaller items are easier to position accurately, while larger objects may require supports or careful planning.
Textured Layers
You can introduce texture in individual layers using additives like sand, mica powders, or gels. Textured layers add complexity and tactile interest to resin pieces. By alternating smooth and textured layers, artists can create contrast and focal points within their work.
Layered Effects with Pigments
Pigments can be mixed into each layer to achieve unique effects. Metallic powders, pearlescent pigments, and glitter can be layered strategically to create shimmer, reflections, and illusions of movement. Experimenting with swirling techniques during the pour enhances the dynamic quality of the piece.
Tips for Successful Layering
Patience is Key – Allow each layer to cure adequately before adding the next. Rushing the process can cause layers to mix or imperfections to appear.
Plan Ahead – Sketch or visualize the order of layers, colors, and embedded objects. Planning ensures that the final piece aligns with your creative vision.
Control Bubbles – Air bubbles can be minimized by mixing slowly, letting the resin settle, and using a heat gun on each layer.
Use Supports if Needed – For larger or floating objects, temporary supports or spacers can help maintain positioning until the resin hardens.
Experiment – Layering is highly flexible. Practice on small test pieces to learn how colors, transparency, and embedded objects interact before attempting larger projects.
Applications of Layering
Layering techniques can be applied to a wide variety of resin projects, including:
- Decorative coasters and trays – Create embedded designs and multi-colored effects.
- Wall art and panels – Build scenes with floating objects and depth illusions.
- Jewelry and pendants – Suspend tiny items or glitter for intricate detail.
- Functional items – Tabletops, serving boards, and decorative surfaces benefit from layered effects that enhance visual appeal.
Layering in resin art opens up infinite creative possibilities. By mastering transparent pours, color gradients, embedded objects, and textures, artists can transform simple resin projects into visually compelling, three-dimensional works of art that captivate and inspire.

